
Fall is in the air, and that means it’s time for warm, cozy drinks. Apple cider is a perfect treat for chilly days. Nothing beats it warm or chilled. But I’ve always wondered how to make amazing apple cider. So I did some homework. And in this post, I am going to share it all with you.
Making your own apple cider at home is easy and lets you control the flavors and sweetness. You can use any type of apples you like, and add spices to make it just right for you.
Homemade apple cider starts with fresh apples, water, and some tasty add-ins. You’ll need a big pot and a few tools from your kitchen. The process is simple – cook the apples, mash them up, and strain the liquid. In no time, you’ll have a yummy drink to enjoy with family and friends.
Key Takeaways
- Fresh apples and basic kitchen tools are all you need to make apple cider
- Cooking and mashing the apples releases their sweet flavor
- You can adjust spices and sweetness to make your perfect cider
What You Need to Know Before Starting
Making apple cider at home is fun and rewarding. Here are the key things to know before you start your cider-making adventure.
Understanding Apple Cider
Apple cider is a tasty drink made from pressed apples. It can be sweet or dry, still or fizzy. Unlike apple juice, cider is not filtered, giving it a cloudy look.
Cider can be alcoholic or non-alcoholic. The alcohol comes from yeast eating the sugar in apples. This process is called fermentation.
To make good cider, you need to:
- Pick ripe apples
- Wash them well
- Crush the apples
- Press out the juice
- Let it ferment (for hard cider)
Choosing the Right Apples
Not all apples make great cider. The best cider apples have a mix of sweet, tart, and bitter flavors.
Some good cider apple types are:
- Golden Russet
- Winesap
- Granny Smith
- Jonagold
You can mix different apple types to get a better flavor. Avoid using only sweet eating apples, as they can make bland cider.
Ripe apples make the best cider. They should be firm and free from rot. Don’t use apples that have fallen on the ground, as they might have harmful bacteria.
Equipment Essentials
To make cider, you’ll need some basic tools. Here’s what to get:
- Apple crusher or grinder
- Fruit press
- Large fermentation bucket
- Airlock and stopper
- Siphon tube
- Bottling equipment
For crushing apples, you can use a hand-crank grinder or an electric crusher. A fruit press squeezes out the juice from crushed apples.
Clean all your equipment well before use. This helps prevent bad bacteria from spoiling your cider. You can use a sanitizer made for brewing to clean your tools.
If you want to make hard cider, you’ll also need yeast and a hydrometer to measure sugar content.
Preparation Stage
Getting apples ready for cider-making is key. Clean fruit and the right chopping method set you up for yummy cider. Let’s look at how to prep those apples.
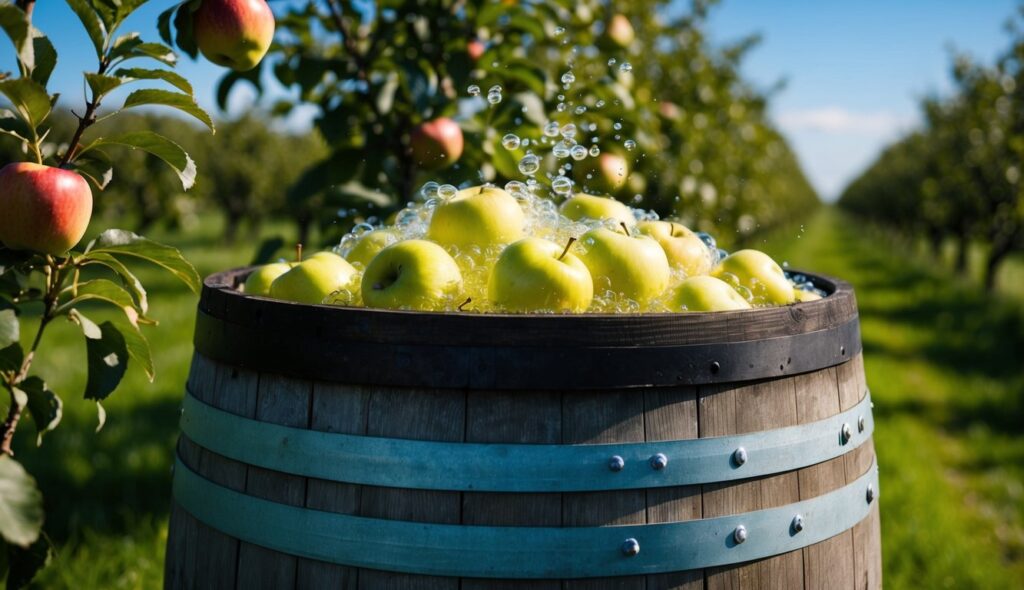
Washing and Cleaning
Start by picking the best apples. Choose ripe, firm ones without bruises or rot. Mix sweet and tart types for good flavor.
Fill a big bowl or sink with cool water. Add a splash of white vinegar. This helps clean the apples better.
Put the apples in the water. Gently scrub each one with a soft brush. Pay extra attention to the stem and bottom areas.
Rinse the apples well under running water. Make sure all the dirt and vinegar are gone.
Dry the apples with a clean towel or let them air dry. This stops extra water from making your cider too thin.
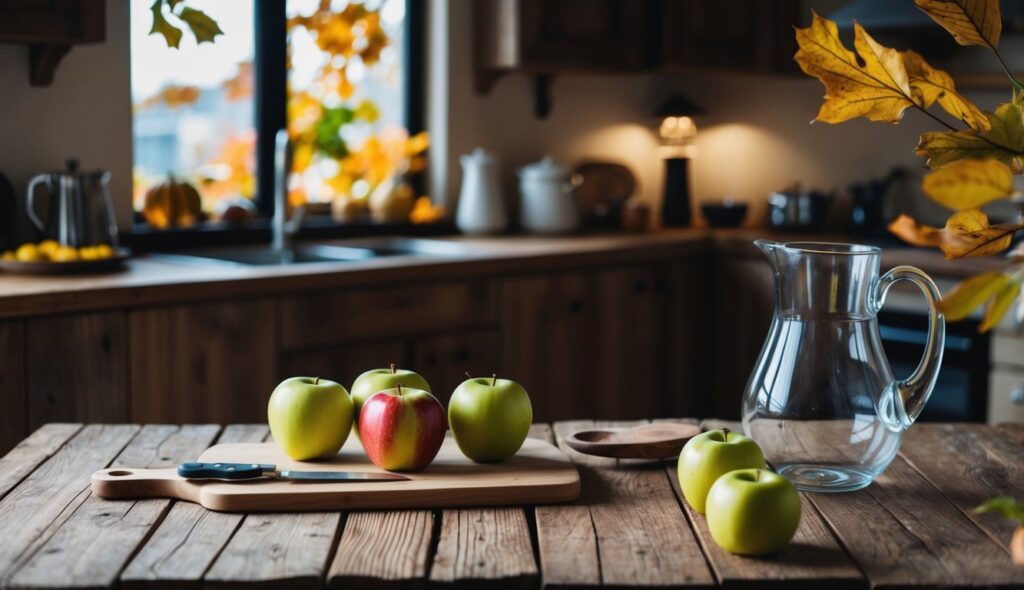
Chopping and Crushing
Get a sharp knife and a cutting board. Cut out any bad spots on the apples.
Chop the apples into small pieces. About 1-inch chunks work well. Don’t worry about peeling or removing seeds.
Put the apple chunks in a big, clean pot or bucket.
Use a potato masher to crush the apples. Mash them until they’re mushy but still have some chunks.
If you have lots of apples, a food processor can help. Pulse the chunks a few times. Don’t make them too smooth.
For big batches, try an apple crusher or grinder. These tools make the job faster and easier.
The Fermentation Process
Turning apple juice into cider involves yeast, sugar, and careful monitoring. This process takes time and attention to detail.
Yeast Introduction and Sugar
To start fermentation, add yeast to the apple juice. Cider apples work best for making great cider. The yeast eats the sugar in the juice and makes alcohol.
Some cider makers add extra sugar to boost alcohol content. This is called “chaptalization.”
To add yeast:
- Warm up some water
- Put the yeast in the warm water
- Wait 15 minutes
- Pour the yeast mix into the juice
Shake the container to mix everything well. This helps the yeast grow.
Temperature Control
Keeping the right temperature is key for good cider. Yeast likes it warm, but not too hot.
The best temp range is 60-75°F (15-24°C). If it’s too cold, the yeast works slowly. If it’s too hot, the yeast might die.
Find a spot in your home with a steady temperature. A basement or closet often works well.
You can use a thermometer to check the cider temp. Some people use special heaters or cooling systems to keep the temp just right.
Monitoring the Fermentation
Watch your cider closely as it ferments. Look for bubbles in the airlock. This means the yeast is working.
Use a tool called a hydrometer to check sugar levels. As the yeast eats sugar, the reading goes down.
Fermentation usually takes 1-2 weeks. But it can be longer or shorter.
Signs fermentation is done:
- No more bubbles in the airlock
- The hydrometer reading stays the same for a few days
- The cider looks clearer
Uneven or slow fermentation can happen. This might be due to temperature changes or unhealthy yeast.
After Fermentation
Once fermentation is done, it’s time for the next steps. These make your cider taste even better and get it ready to drink.
Racking the Cider
Racking means moving the cider off the dead yeast. Use a siphon to move the cider to a clean container. This stops weird flavors from forming.
Do this carefully to avoid splashing. Splashing can let air in and spoil the cider. Leave the gunk at the bottom behind. This is called the lees.
You might need to rack more than once. Each time makes the cider clearer. Clear cider looks nicer and tastes better.
Maturation
After racking, the cider needs to rest. This is called maturation. It makes the cider smoother and tastier.
Maturation can take weeks or months. The longer it sits, the better it often gets. Keep the cider in a cool, dark place during this time.
You can add flavors now if you want. Try cinnamon sticks or fruit. Just be careful not to add anything that might cause new fermentation.
Taste your cider every few weeks. When you like how it tastes, it’s ready to bottle or drink!
Finishing Touches
The final steps in making apple cider are crucial. These touches can make your cider truly amazing. Let’s look at how to perfect your brew.
Tasting and Adjusting
Once your cider is ready, it’s time to taste it. Take a small sip and let it roll around your tongue. Pay attention to the sweetness, acidity, and flavors.
Is it too sweet? Add a bit of lemon juice. Not sweet enough? Mix in some brown sugar. The cider might need more spice. Try adding a pinch of cinnamon or nutmeg.
Keep tasting and adjusting until you’re happy. Remember, small changes can make a big difference. Don’t be afraid to experiment.
Bottling and Packaging
Now that your cider tastes great, it’s time to bottle it. Clean glass bottles work best. Wash them well with hot, soapy water. Rinse thoroughly.
Fill each bottle, leaving a little space at the top. Cap them tightly. If you plan to store the cider for a while, keep it cool.
Labels can add a nice touch. Write the date and any special ingredients you used. This helps you remember your favorite batches.
For gifting, try tying a cinnamon stick to each bottle. It looks cute and hints at the yummy flavors inside.
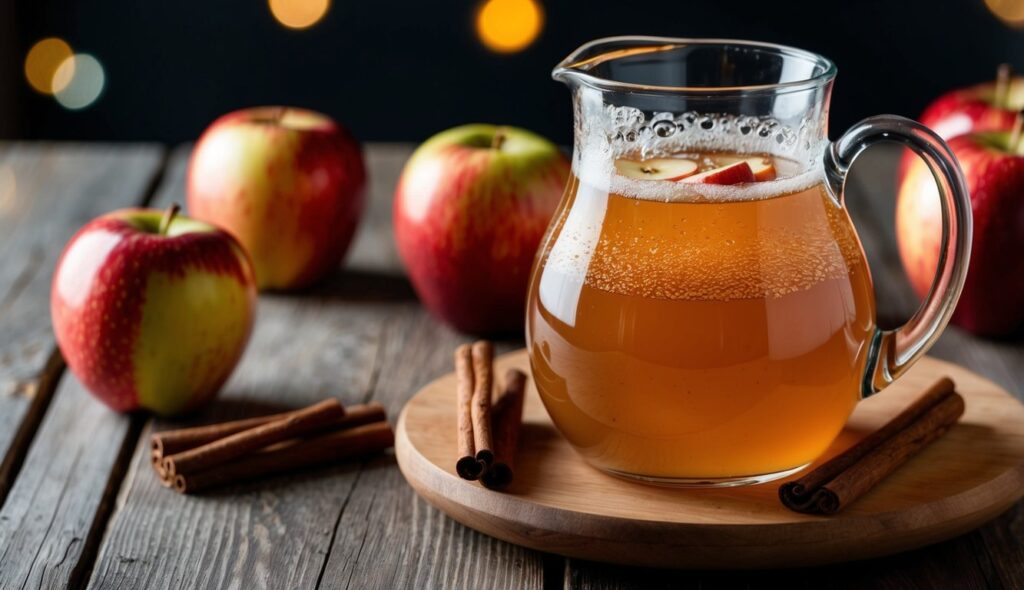
Serving Suggestions
Apple cider tastes great hot or cold. For a warm drink, heat it up in a mug. Add a cinnamon stick for extra flavor.
Cold cider is refreshing on hot days. Pour it over ice in a tall glass. Add a slice of apple for garnish.
Try these fun mix-ins to jazz up your cider:
- Caramel sauce
- Whipped cream
- Cinnamon sugar
- Fresh ginger
For grown-ups, a splash of rum or bourbon makes a tasty spiked cider.
Serve cider with fall treats like donuts, pumpkin pie, or cookies. It pairs well with cheese and crackers too.
For parties, keep cider warm in a slow cooker. Let guests help themselves. Set out mugs and toppings nearby.
Make cider ice cubes to keep drinks cold without watering them down. Freeze cider in an ice cube tray overnight.
Apple cider makes a great gift. Pour it into mason jars and tie with a ribbon. Add a cinnamon stick for a nice touch.
Storage and Preservation
After making tasty homemade apple cider, you’ll want to keep it fresh. There are a few easy ways to do this.
You can store fresh cider in the fridge. It will stay good for about a week. Make sure to keep it in a sealed container.
For longer storage, freezing is a great option. Pour the cider into freezer-safe containers. Leave some space at the top, as the liquid will expand when frozen.
If you want to can your apple cider, you’ll need to pasteurize it first. Heat the cider to 160°F for 10 minutes. Then, pour it into sterilized jars and seal them.
Here’s a quick guide to storage times:
- Fridge: 1 week
- Freezer: Up to 1 year
- Canned: 2-3 years
Remember, always check for signs of spoilage before drinking stored cider. If it smells off or looks moldy, it’s best to toss it out.
For the best flavor, drink your cider within a few months of making it. The taste may change slightly over time, but it will still be yummy!
Frequently Asked Questions
Making awesome apple cider at home is easy with the right tips and tricks. Here are answers to some common questions about crafting delicious homemade cider.
What’s the secret to making apple cider from scratch that’s totally awesome?
The key is using a mix of apple types. Sweet and tart apples create a balanced flavor. Also, add spices like cinnamon sticks and cloves for extra yumminess.
How do I make my homemade apple cider taste way better?
Try adding fresh ginger and orange slices. A bit of brown sugar can also boost the taste. Mulling spices in a fabric bag work great too. Just toss them in and let them steep.
Got any tips for brewing alcoholic apple cider at home?
Start with fresh apple juice. Add yeast and let it ferment for a few weeks. Keep everything clean to avoid bad bacteria. Patience is key – good hard cider takes time.
What’s the best booze to mix into apple cider for a bit of a kick?
Rum and whiskey are popular choices. They add warmth and depth to the cider. Spiced rum is especially tasty. For a lighter kick, try adding some brandy.
Why does my homemade apple cider come out tasting bitter, and how can I fix it?
Bitterness often comes from using too many tart apples. To fix it, add more sweet apples next time. You can also try adding a bit more sugar or honey to balance the flavor.
Can you give me a rundown on using a press for making apple cider?
First, wash and chop the apples. Put them in the press and crush them. Collect the juice that flows out. It’s that simple! A press saves time and gives you more juice than other methods.