
Fall brings crisp apples and sweet treats. Making caramel apples at home is a fun autumn activity. You can create tasty caramel apples with just a few simple steps and ingredients.
Start by picking firm, fresh apples. Wash and dry them well. Melt caramel in a pot or use store-bought caramel. Dip the apples and let excess drip off. Add toppings like nuts or candy if you want. Let the apples cool on wax paper.
With some practice, you’ll be making perfect caramel apples in no time. Kids and adults alike will love these sweet fall treats. They’re great for parties or just a cozy night in.
Key Takeaways
- Caramel apples are easy to make at home with fresh apples and melted caramel
- Dipping and decorating the apples is a fun activity for all ages
- Homemade caramel apples can be customized with different toppings and flavors
The Basics of Caramel
Caramel is a sweet treat made by heating sugar. It’s used in many desserts and candies. Making caramel at home can be fun and tasty.
Understanding Sugar Chemistry
When sugar heats up, it changes. First, it melts. Then it turns brown and gets a yummy flavor. This process is called caramelization.
Sugar molecules break apart when heated. They form new compounds that give caramel its color and taste. The longer you cook sugar, the darker and more bitter it gets.
Different sugars caramelize at different temperatures. White sugar needs higher heat than brown sugar. Adding other things like butter or cream changes how the sugar acts when heated.
Choosing the Right Ingredients
Good caramel starts with good ingredients. White sugar works best for caramel apples. You can also use brown sugar for a deeper flavor.
Butter adds richness to caramel. Use unsalted butter to control the salt level. Heavy cream makes caramel smoother and creamier.
Some recipes use corn syrup. It helps stop sugar crystals from forming. This makes the caramel smooth.
Salt is important too. It balances the sweetness. A little vanilla can add nice flavor.
Essential Tools for Caramel-Making
You need the right tools to make caramel safely. A heavy pot is a must. It spreads heat evenly and stops burning.
A candy thermometer helps you know when the caramel is ready. Different stages of caramel happen at different temperatures.
Long-handled spoons keep your hands safe from hot sugar. Silicone spatulas are good for stirring and scraping.
For caramel apples, you need sticks. Wooden craft sticks or lollipop sticks work well. A silicone mat or parchment paper helps the apples not stick.
Making the Perfect Caramel
Making caramel can be tricky, but with the right tips and tricks, you’ll be creating smooth, golden caramel in no time. The key is to pay attention to cooking temperatures and techniques.
Cooking Techniques and Temperatures
To make great caramel, you need to melt sugar slowly. Put sugar in a heavy pot over medium heat. Don’t stir! Let it melt on its own. Once it starts melting, gently swirl the pan to help it melt evenly.
Use a candy thermometer to check the temp. For soft caramel, aim for 240°F (116°C). For harder caramel, go up to 250°F (121°C).
When the sugar is melted and golden, take it off the heat. Slowly add warm cream while stirring. Be careful – it will bubble up!
Troubleshooting Common Caramel Issues
Crystallized caramel? Try adding a splash of lemon juice or corn syrup at the start. This helps stop sugar crystals from forming.
Burnt caramel? Lower the heat next time. Caramel can burn fast if the heat’s too high.
Grainy caramel? You might have stirred too much. Remember to let the sugar melt on its own at first.
If your caramel is too thin, cook it a bit longer. If it’s too thick, add a little warm cream.
Adding Flavors to Caramel
Plain caramel is yummy, but you can make it even better! Try adding a pinch of salt for salted caramel.
Vanilla extract gives caramel a rich flavor. Add it after taking the caramel off the heat.
For a fun twist, try adding spices like cinnamon or nutmeg. Just a pinch will do!
You can also add booze for grown-up caramel. Bourbon or rum work great. Add a splash after the cream.
Preparing Candy Apples
Making candy apples is fun and easy. With a few simple steps, you can create these sweet treats at home.
Selecting and Prepping Apples
Pick firm, crisp apples for the best results. Granny Smith apples are a popular choice due to their tart flavor that balances the sweet candy coating. Wash the apples well and remove any stickers.
Dry the apples completely. Even a little moisture can make the candy coating slide off. Use a clean cloth or paper towel to pat them dry.
Remove the stems. This makes it easier to insert the sticks. Some people like to use a melon baller to scoop out the top of the apple where the stem was.
Skewering and Dipping Fundamentals
Choose sturdy sticks for your apples. Wooden craft sticks or popsicle sticks work well. Push the stick deep into the apple from the top where the stem was.
Heat your candy coating in a deep, narrow pot. This makes it easier to dip the apples. Swirl each apple in the hot candy to coat it evenly.
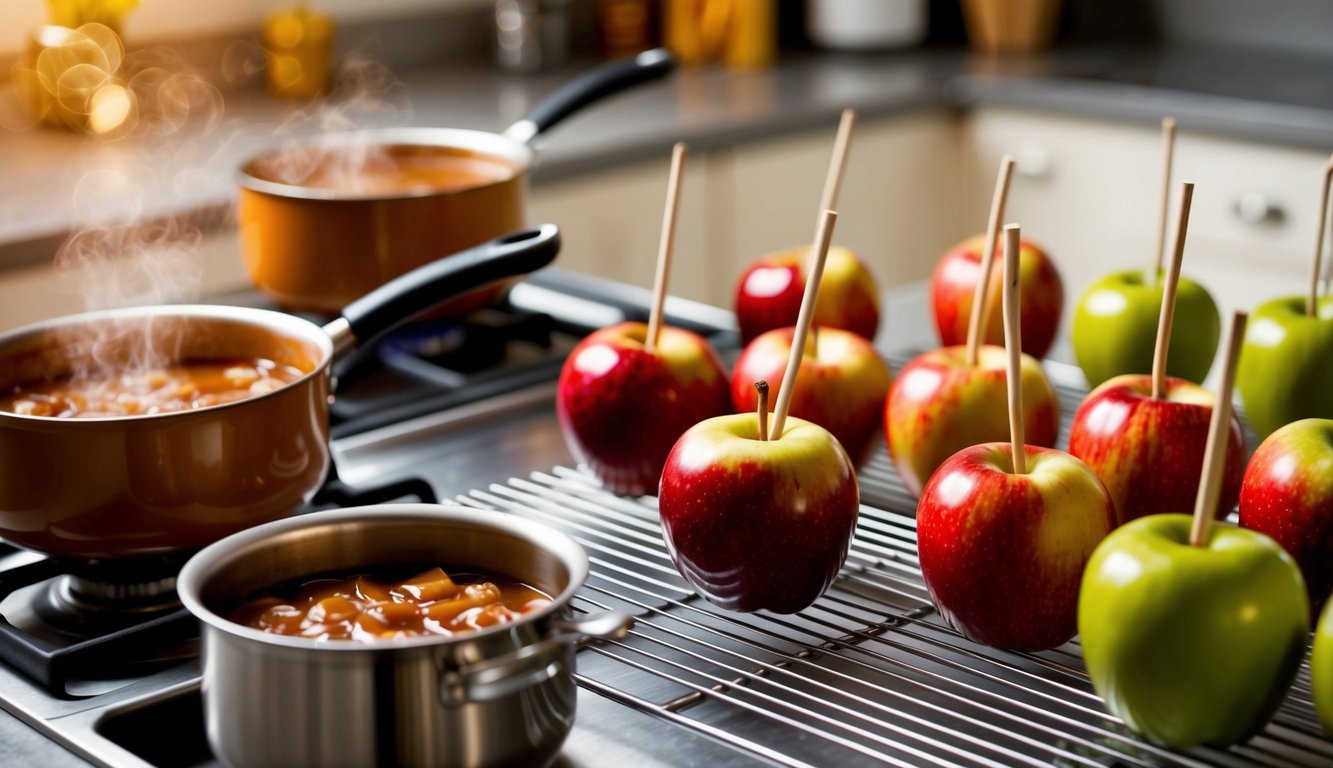
Let extra candy drip off for a few seconds. Then place the apple on a greased baking sheet to cool. The candy will harden as it cools.
Add toppings right after dipping if you want them to stick. Nuts, sprinkles, or crushed candy all work great. Have fun and get creative!
Combining Caramel with Apples
Turning plain apples into sweet treats is fun and easy. The key is coating them evenly and letting them set properly.
Dipping and Coating Techniques
Start by prepping your apples. Wash and dry them well. Stick wooden sticks into the stems.
Make your caramel sauce. Mix sugar, corn syrup, butter, and cream in a pot. Heat it up until it’s thick and gooey.
Let the caramel cool a bit. It should be warm but not super hot.
Dip each apple into the caramel. Turn it slowly to coat all sides. Let extra caramel drip off.
For a thicker coating, dip twice. Let the first layer set before the second dip.
Try these toppings:
- Chopped nuts
- Sprinkles
- Mini chocolate chips
- Crushed cookies
Roll dipped apples in toppings right away before the caramel hardens.
Setting and Cooling Methods
Place coated apples on a greased baking sheet. Don’t let them touch each other.
Put the sheet in the fridge. This helps the caramel set faster.
You can also let apples cool at room temp. It takes longer but works fine.
Wait about 15 minutes for the caramel to harden. Test by gently touching it.
Once set, wrap each apple in wax paper or plastic wrap. This keeps them fresh.
Store in the fridge. Eat within a week for best taste.
Let apples warm up a bit before eating. Cold caramel can be too hard to bite.
Decoration and Presentation
Making caramel and candy apples look amazing is half the fun. A few simple tricks can turn your treats into eye-catching works of art.
Creative Topping Ideas
Sprinkle crushed nuts, like peanuts or almonds, on your apples for a classic look. Try colorful candy pieces or mini chocolate chips for a fun twist.
Drizzle melted white or dark chocolate over the apples in zigzag patterns. This adds flavor and makes them look fancy.
For a fall theme, use orange and black sprinkles. Or go for a mix of crushed pretzels and toffee bits for a salty-sweet combo.
Set up a topping bar with small bowls of different options. Let people create their own custom apples.
How to Wrap and Serve
Once your apples are decorated, let them cool fully. This helps toppings stick better.
Wrap each apple in clear cellophane. Tie with a pretty ribbon for a nice touch.
For parties, try serving apple slices with dips instead of whole apples. It’s easier to eat and share.
Put apples on lollipop sticks before dipping. This makes them easier to hold and decorate.
Store wrapped apples in the fridge. Take them out 30 minutes before serving for the best taste.
Safety and Storage Tips

Caramel apples are yummy treats, but you need to be careful when making and storing them. Always wash your hands and the apples before you start.
Be extra careful when working with hot caramel. It can burn your skin badly. Use oven mitts and long sleeves to protect yourself.
Store caramel apples in the fridge to keep them fresh longer. Put them in a sealed container so they don’t dry out.
If you’re not eating them right away, wrap each apple in wax paper. This stops them from sticking together.
For short trips, you can keep caramel apples at room temp. But don’t leave them out for more than 2 hours.
Want to make them last even longer? You can freeze caramel apples! Just wrap them well and they’ll keep for months.
When it’s time to eat, let frozen apples thaw in the fridge first. This helps keep the caramel from falling off.
Remember, safety comes first when making sweet treats at home. Have fun, but be smart about it!
Beyond Basics: Gourmet Variations
Want to take your caramel apples up a notch? Try these fancy twists!
Maple Caramel: Replace regular caramel with maple caramel for a rich, fall flavor. It’s perfect for autumn parties.
Toffee Crunch: After dipping in caramel, roll the bottom of the apple in crushed toffee bits. This adds a nice crunch to every bite.
Chocolate Drizzle: Once the caramel sets, drizzle melted chocolate over the apples. Use dark, milk, or white chocolate for different looks.
Nutty Delight: Roll caramel-coated apples in chopped nuts. Pecans, almonds, or peanuts work great.
Sprinkle Party: Kids love apples rolled in colorful sprinkles. It makes the treats look fun and festive.
Sea Salt Twist: Sprinkle a pinch of sea salt on the caramel while it’s still wet. This brings out the sweet flavors.
Cookie Crumble: Crush up your favorite cookies and roll the apples in the crumbs. Oreos or graham crackers are tasty choices.
Remember to let each layer set before adding the next. This helps keep your gourmet toppings in place.
Frequently Asked Questions
Making caramel apples at home can be tricky. Here are some common questions people have when making this sweet treat.
How do you melt caramel evenly for dipping apples?
Use a double boiler to melt caramel gently. This keeps the heat even and stops burning. Stir often for smooth results.
You can also melt caramel in a microwave. Heat it in 30-second bursts, stirring between each one.
What’s the trick to getting caramel to stick to apples?
Clean apples well to remove wax. Wash them with soap and hot water. Dry them completely.
Dip clean apples in boiling water for a few seconds. This helps the caramel stick better.
Can you make caramel apples without using corn syrup?
Yes, you can skip corn syrup. Use honey or maple syrup instead. Some recipes use just sugar and cream.
These subs may change the texture a bit. But they still make yummy caramel apples.
What’s a good old-fashioned caramel apple recipe?
A classic recipe uses sugar, butter, and cream. Heat these in a pot until they reach 240°F. Add vanilla and salt at the end.
Let the caramel cool a bit before dipping apples. This makes a rich, chewy coating.
What’s the difference between candied apples and caramel apples?
Candied apples have a hard, shiny coating. It’s made from sugar cooked until it’s crisp.
Caramel apples have a soft, chewy coating. The caramel is cooked less, staying gooey.
How do you prevent caramel apples from getting brown spots?
Store caramel apples in a cool, dry place. Don’t put them in the fridge. The moisture can make spots.
Eat caramel apples within a few days. The longer they sit, the more likely spots will form.